Snowballs on the Frame not in the Yard
Happy belated Thanksgiving Everyone! We had a nice Thanksgiving meal here with our youngest son, his two dogs and a couple of friends from church. Very relaxed and fun with plenty of yummy food. So relaxed I didn’t even get a picture after everyone arrived!
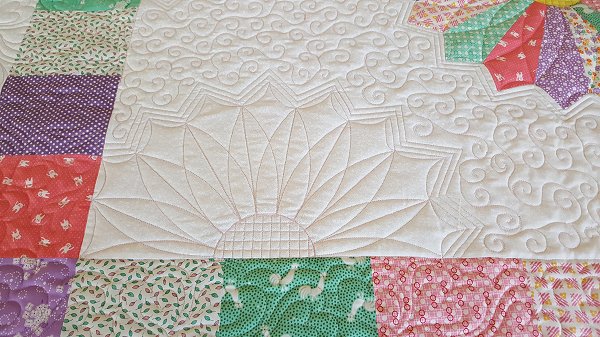
Here’s a fun quilt for Shirley. All freehand quilting in Superior Omni cream color. Hobbs 80/20 batting.
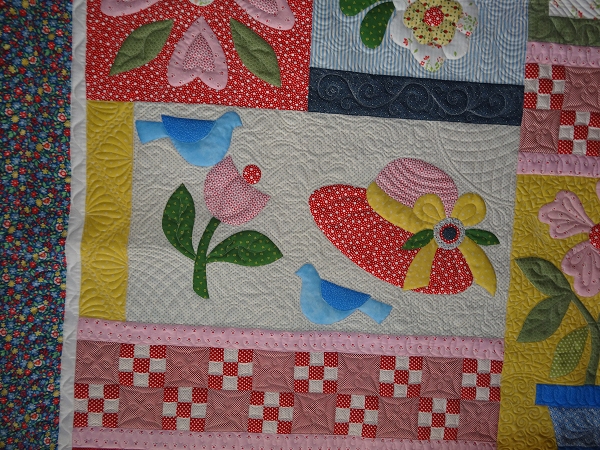
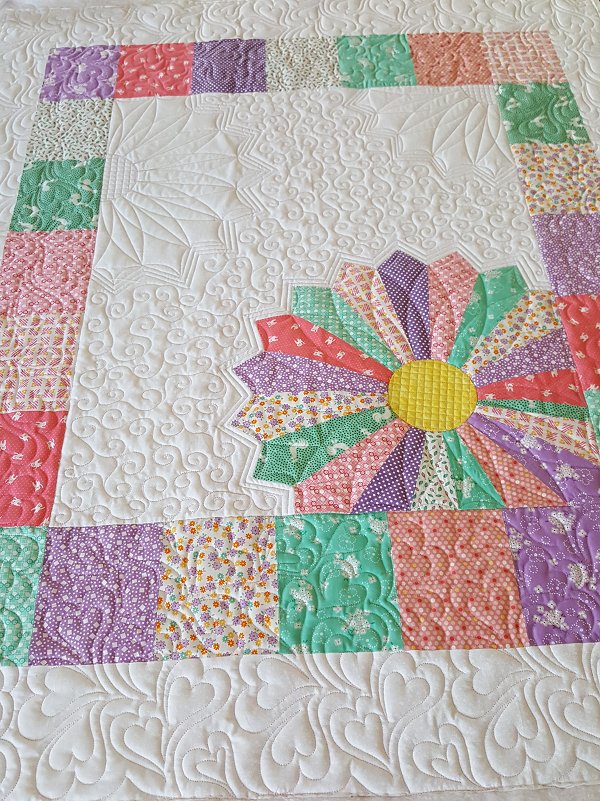
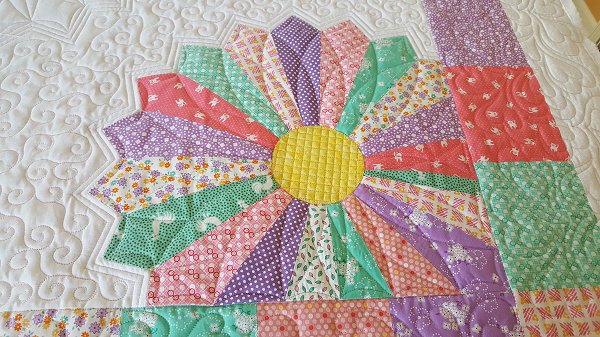
Joyful Flower Garden
Just what we need right now, more joyful color! Sally’s flower garden. Freehand quilting, White SoFine, except for the red behind the basket, that is pink on top with white in the bobbin. Double batting. Hobbs 80/20 first and then poly on top to really make the quilting pop.
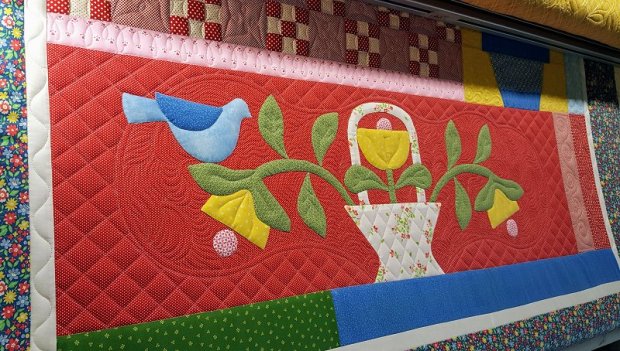

The back is pretty too!

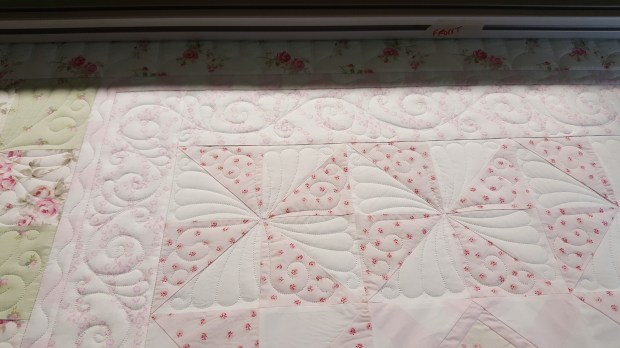
Vintage Look Baby Quilt
This is such a sweet baby quilt made by Betsy! The blocks are digital design Feather Swirl Block by Judith Kraker. Scallop on the border came with the machine. The piano keys were ruler work. Inside borders were freehand. The quilting showed up beautifully on the Cuddle backing. Hobbs 80/20 bleached batting. Superior Omni thread in white.
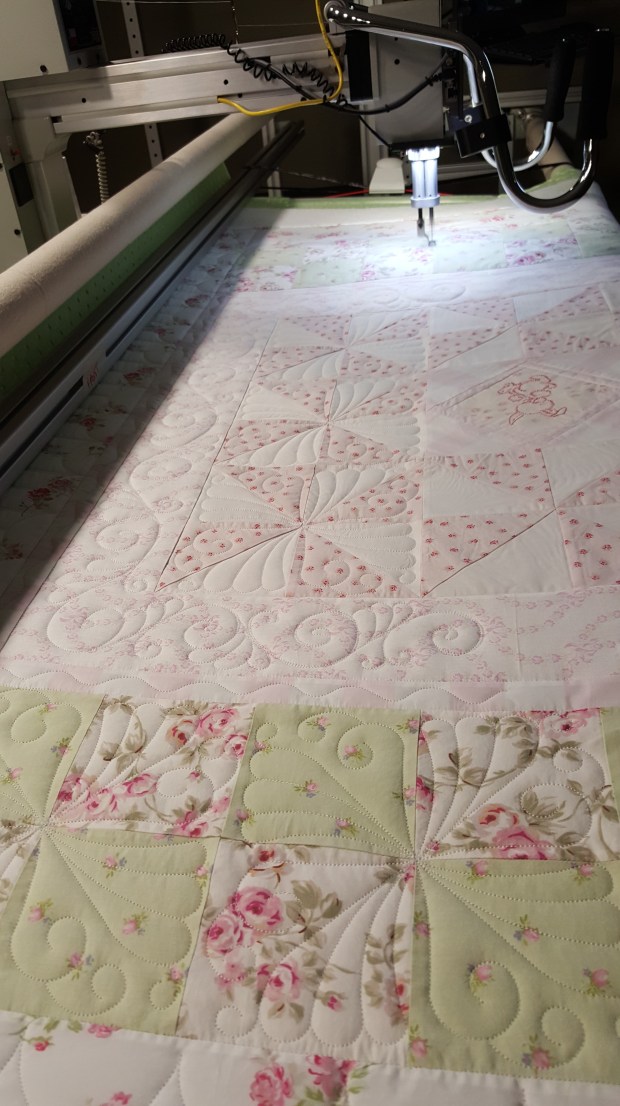
I just love the old fashioned sweetness of this quilt! 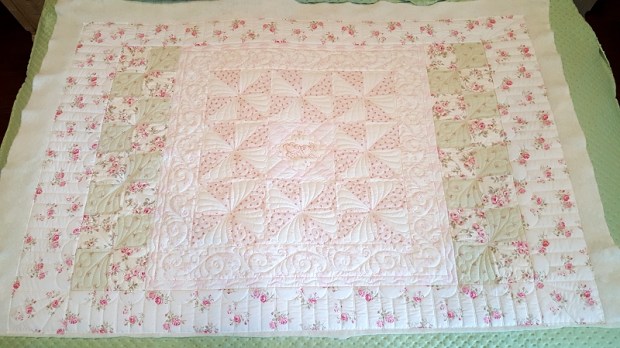
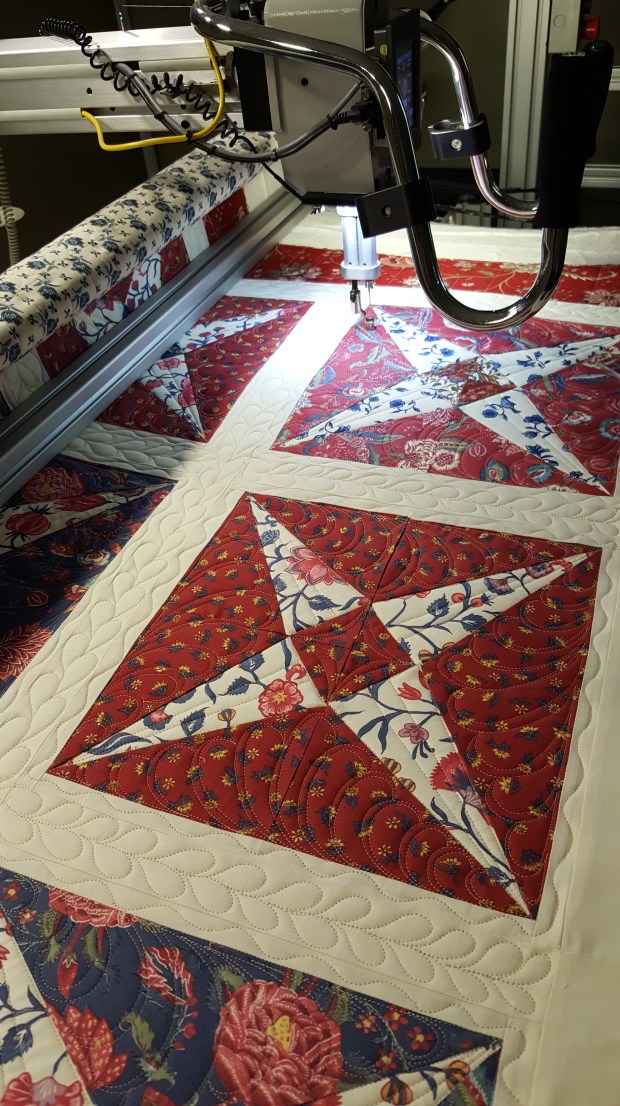
A Vacation Memory Quilt and a Fun Owl Quilt
Both for Chris. The red/white/blue star quilt is freehand custom. Superior So Fine in a cream color. Client supplied batt. Fabrics for this quilt were picked up on a vacation.
The owl quilt is a combination of automated Surf design and freehand for the owl. Lt Gray Omni and client supplied batting. No that is not a bug on the wall… I don’t know what it is but not a bug! 🙂 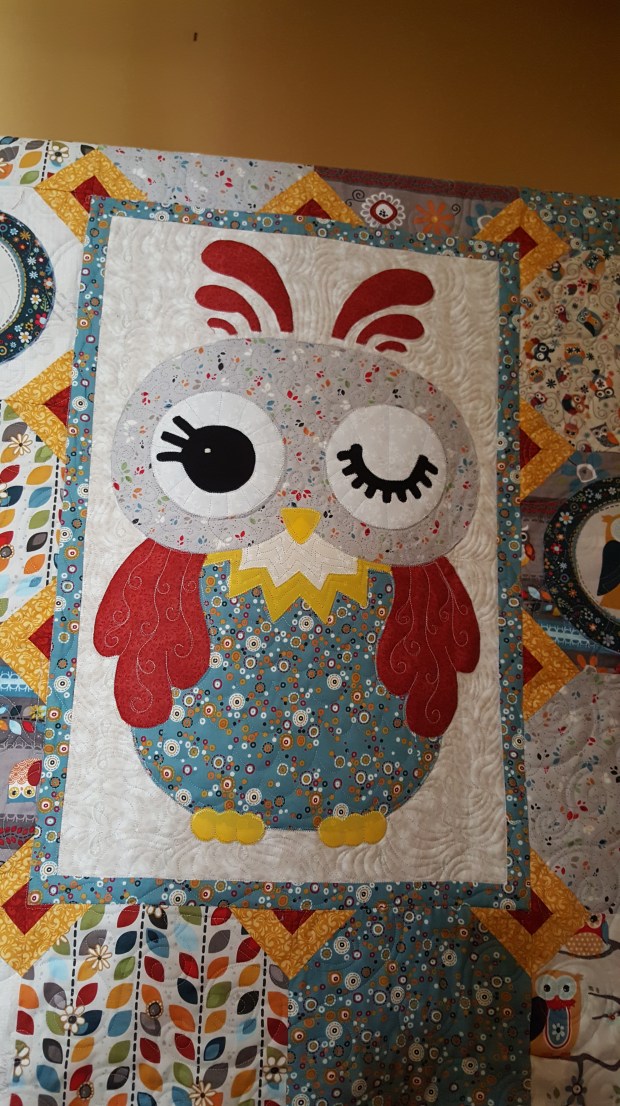
A couple for Sally L
Freehand Custom on a beautiful quilt by Sally L. Hobbs 80/20 batting, Sage Green and Cream Omni thread.
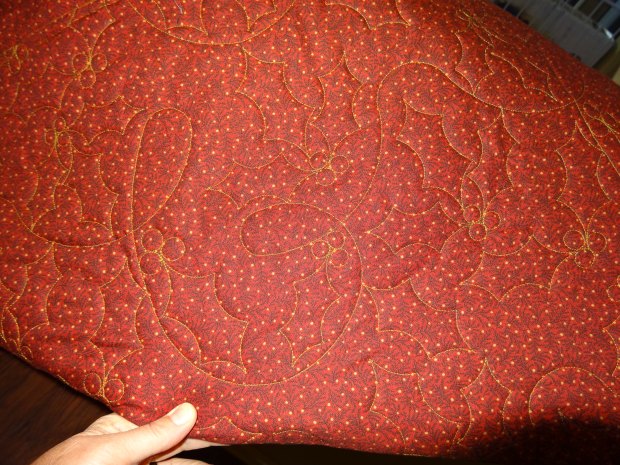
A digital Holly E2E from Sweet Dreams Quilt Studio on this very large and beautiful Christmas quilt also by Sally L. Antique Gold Omni thread with Hobbs 80/20 Batting.
Yes, I’d rather be quilting!
Vicky’s sweet baby quilt. Custom, center is freehand quilting and borders automated design “Whole Lotta Love” by Urban Elementz. Hobbs 80/20 bleached batting and Omni lt pink thread .
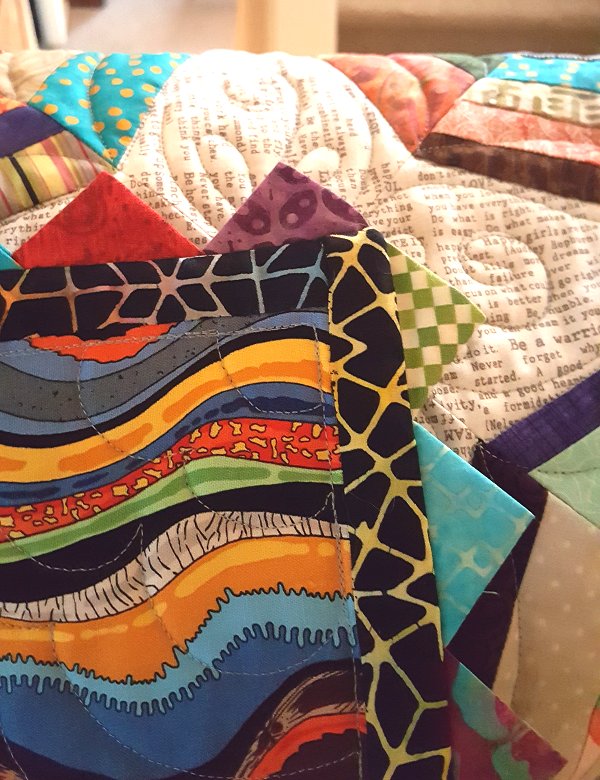
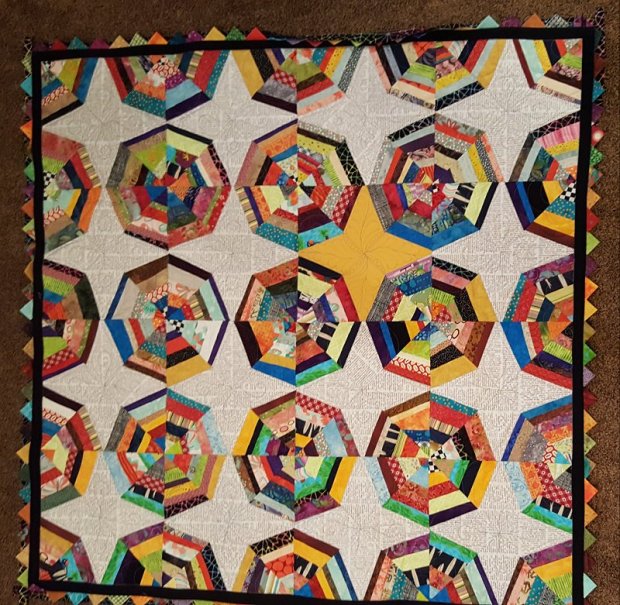
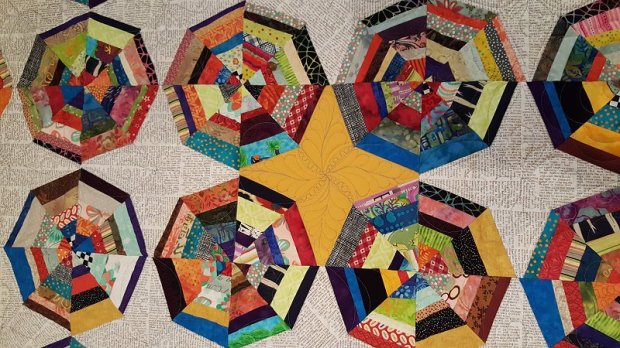
Scrappy Spider Web Quilt
Here’s one of my own. This quilt was just for fun and for using up my scraps! Didn’t make a dent though. It just fluffed up the pile while I was searching for the right scrap so it looks even bigger now! Plus, I started the quilt during a retreat and the other stitchers were throwing colorful scraps my way so I actually gained a few!

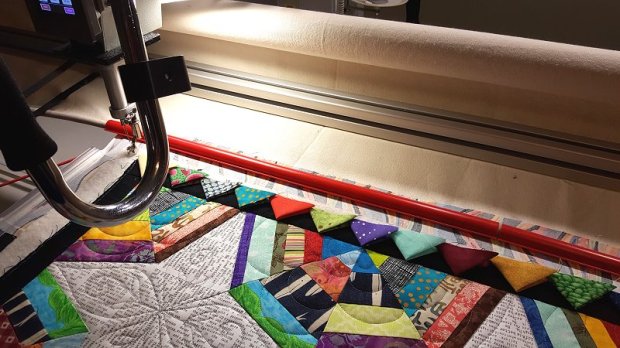
Our guild meeting speaker in June talked about prairie points (PP) and had a quilt with them done like this. I decided I’d like to try it and this quilt was a good fit for the process. As I thought about attaching the PP’s, the light went on I realized it would be easy to attach them while it was still on the long arm. The quilting was done first. The black strip on the front is just a narrow border on the quilt, put on before quilting.
Here’s my PP’s prepped and ready to go. I picked out the most colorful 2.5 inch squares from my scrap cuts and pressed into PPs. I put them in color order so I could just take one from each pile and have them mixed up on the quilt.
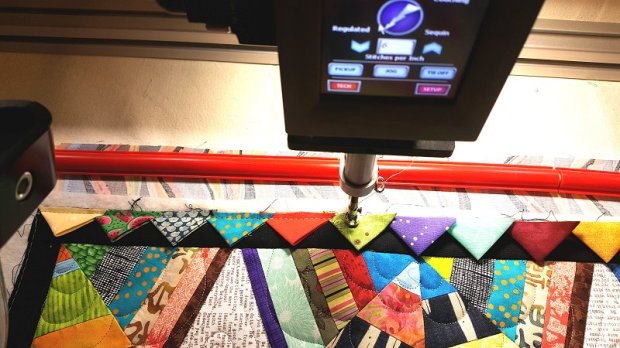
First step was to lay them out where I wanted them across the top.
Next, I basted them down to hold them in place. I tried to stay less than 1/4 inch from the edge of the quilt for this basting line.
Next, I stitched down what would be the binding on the back. Determine what width you want the back binding to be, add 1/4 inch for seam, double that, fold over, press, lay on top of the basted PPs with the raw edges out (with all the other raw edges), stitch down 1/4 inch from the edge. This should cover your PP basting line. If you want less bulk, you could keep this a single piece of fabric and leave 1/2 inch for seam and a fold over hem on the back. If you do it that way, make sure to have it right side down for this seam line.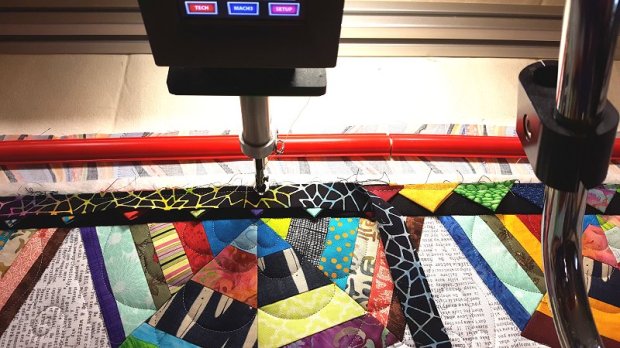
Do the same down the sides, rolling as you go. At the corner, the top piece was stitched all the way across. I flipped that up and started the side piece right under the top piece.

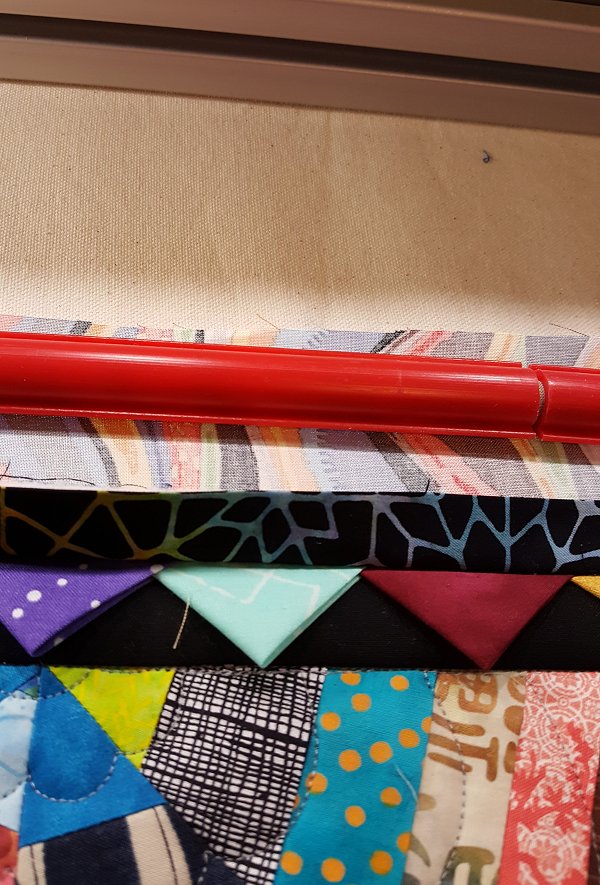
This is how it looks when it’s all stitched together and the back binding is flipped up.
Once the PPs were stitched all the way around, I removed it from the long arm and trimmed the seams as usual being careful to not catch any PPs. Press the back binding piece to the back, popping the PPs up as you go. Then hand stitch the back binding in place. I trimmed as much from the corners as possible, then stitched the side down then the top (this is opposite how the seams lay on the front). In hindsight, I would make the back binding larger than that black front border so the binding would hide that line of stitching on the back.
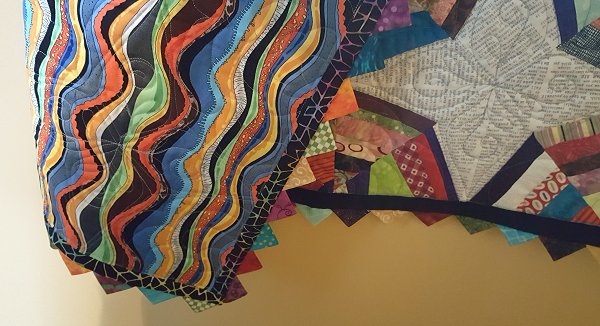
Here’s the finished quilt (well, hand stitching was in progress as you can see the back binding was popping up), freehand quilted in light gray Superior Omni thread.
Bev’s Custom T-shirt Quilt
Custom freehand quilting. Bev requested that I not stitch over the designs on the T-shirts. This was a fun one to do! Omni in medium or light gray (sorry can’t remember which I used, I quilted this at the beginning of July!)


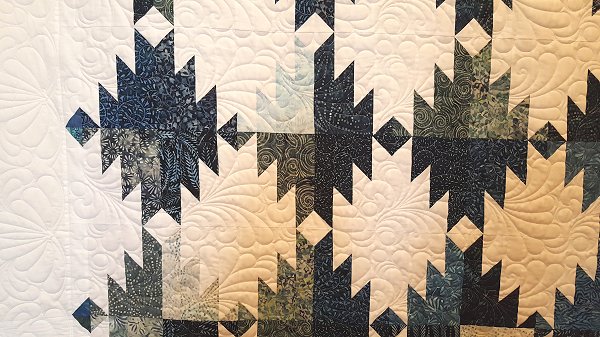
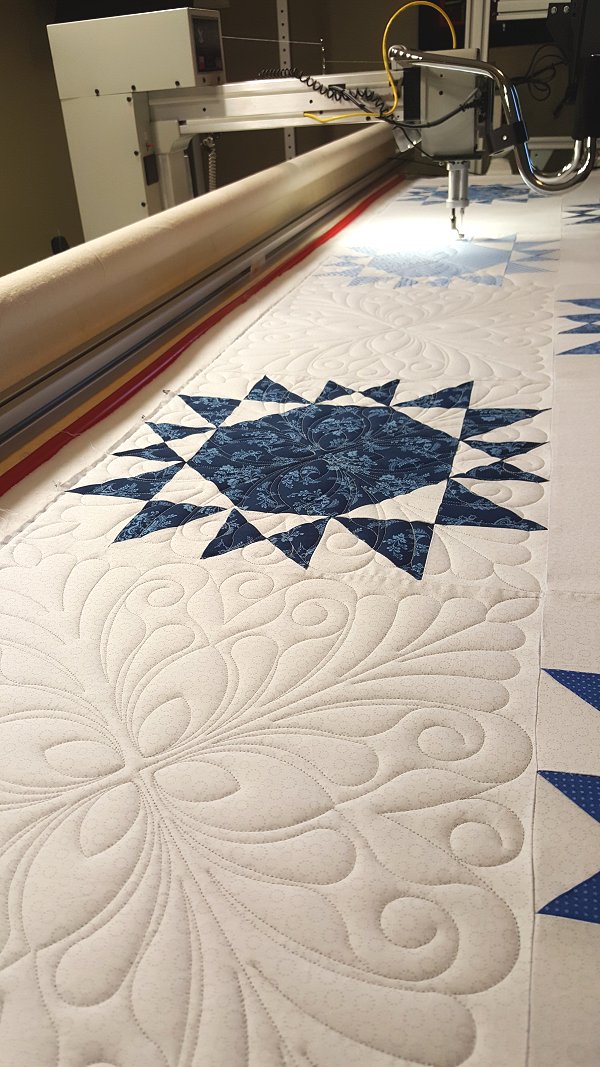
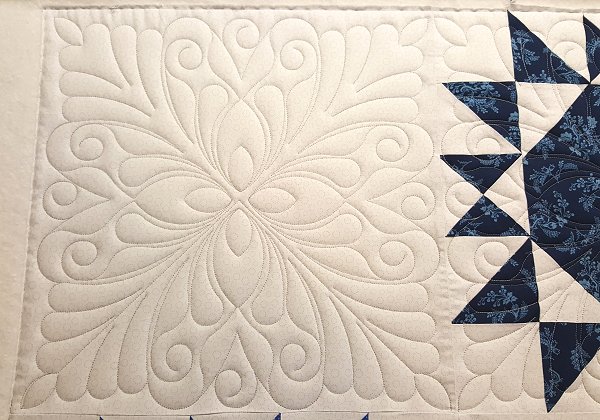
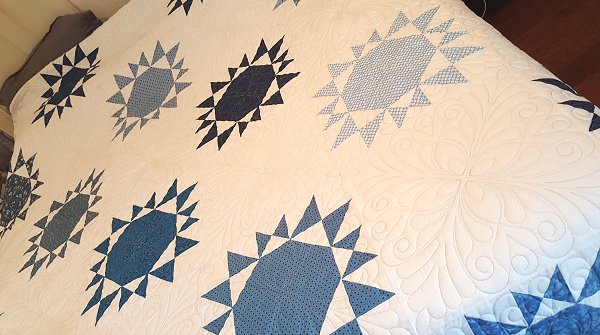
Two Blue Beauties
Barb M’s beautiful Grand Adventure quilt. Digital border design is Betsy’s Feather border and corner with the center quilted with Fast Feathers E2E, all from My Creative Stitches. White Omni thread, bleached 80/20 Hobbs batting.
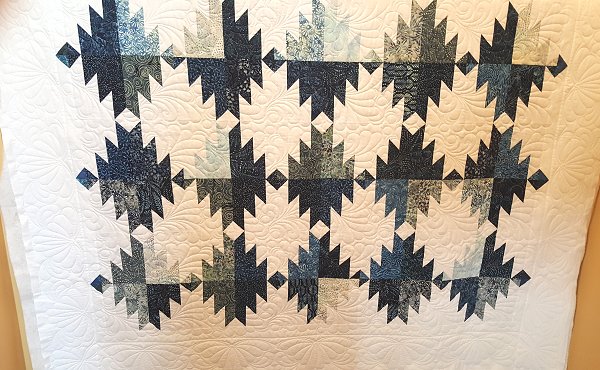
Barb shared a photo of the finished project with a prairie point edge.

Gail U’s gorgeous king sized quilt. Digital design is Appleseed from My Creative Stitches. Lt gray Omni thread. Bleached 80/20 Hobbs.
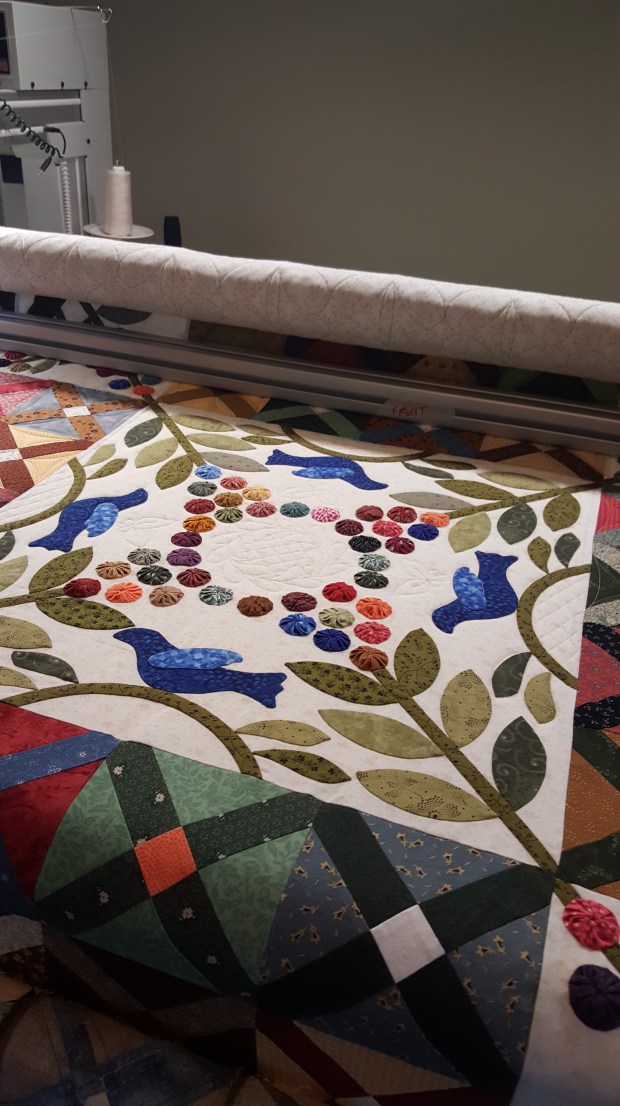
Family Tree Quilt
Here’s a family tree quilt made for Janet M. She had family draw on the blocks and then Sally Z put together the quilt and I had the pleasure of quilting it. Freehand borders and Surf Digital design in the center squares. White So Fine thread. Bleached Hobbs 80/20.


